
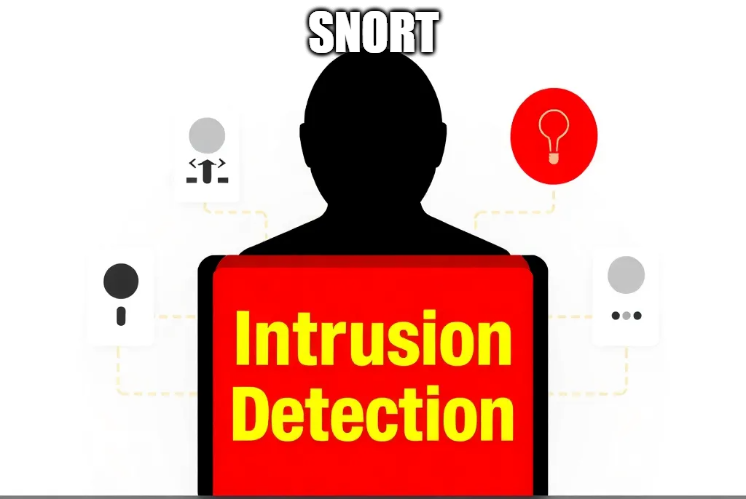


Top Cybersecurity Threats Facing Businesses In 2026
Businesses entering 2026 face a security landscape that is more complex, more interconnected, and far less forgiving than in previous years. Cybersecurity threats no longer

Top 5 Security Weaknesses Cloud-Native Apps Commonly Ignore
Cloud-native applications promise speed, flexibility, and scalability. Teams ship features faster, infrastructure adapts automatically, and operational overhead drops. Yet many organizations discover later that security
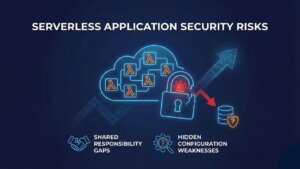
Why Weak Serverless Application Security Puts Your Business at Risk
Weak security in serverless environments often goes unnoticed until it leads to real damage. Misconfigured triggers, broad permissions, and poor visibility can expose sensitive data and disrupt business operations. Understanding where the risks appear is the first step toward building safer, more reliable serverless applications.
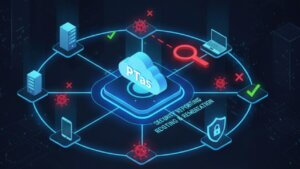
What Is Penetration Testing as a Service?
Penetration testing as a service (PTaaS) lets experts simulate real attacks to uncover vulnerabilities before hackers do. This guide explains the process, benefits, and costs, helping businesses strengthen defenses with predictable, ongoing security checks.
How To Inspect Encrypted Traffic Without Breaking Privacy
Network administrators face a challenge: securing systems while respecting privacy. This guide explains how to inspect encrypted traffic without breaking privacy using metadata, anomaly detection, and machine learning ensuring visibility, compliance, and trust.

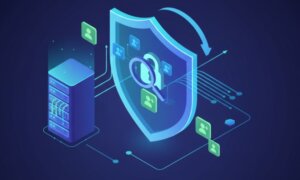
How to Audit Infrastructure as Code (IaC) for Security Vulnerabilities
Discover how to audit Infrastructure as Code (IaC) for security vulnerabilities with this practical guide. Learn to scan IaC files using tools like Checkov, fix issues like exposed resources, and integrate audits into CI/CD pipelines. Protect your cloud systems from misconfigurations and ensure compliance with clear, actionable steps.